How To Set Up Your Own Bing Places For Business Account!
Table of Contents
What is Bing Places For Business?
Bing Places For Business is a type of account that is can be used as a form of local advertisement that is similar in nature to a Google My Business account. These allow people to get a closer look at what your business is all about without necessarily having to visit the website or physical business directly. Nowadays in the digital age, they also give businesses a form of “official legitimacy” in the eyes of the public, which is almost as important as actually having a good product or service to sell.
This article will into step-by-step detail of how to first set up ones Bing Places For Business account.
Step 1:
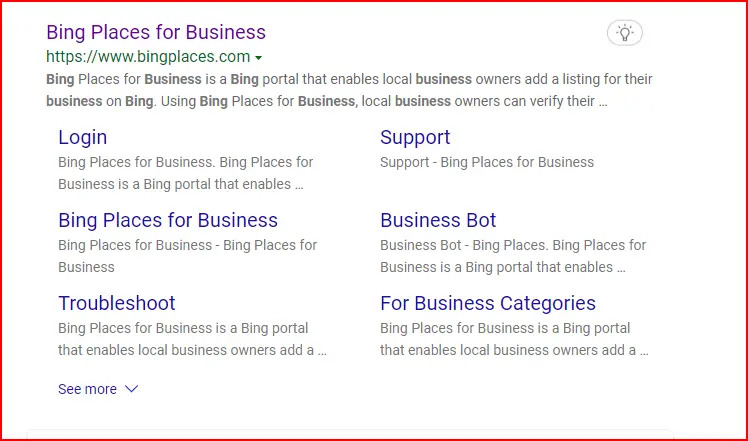
First, you must search for Bing Places For Business on the internet. If you already have a Bing Webmaster’s Tool account for a website, you can also find a Bing Places For Business link in the dotted menu in the upper left corner of the screen.
Step 2:
Sign in to Bing Places For Business to either get started setting up your business account on Bing or to update an existing account that you have with them.
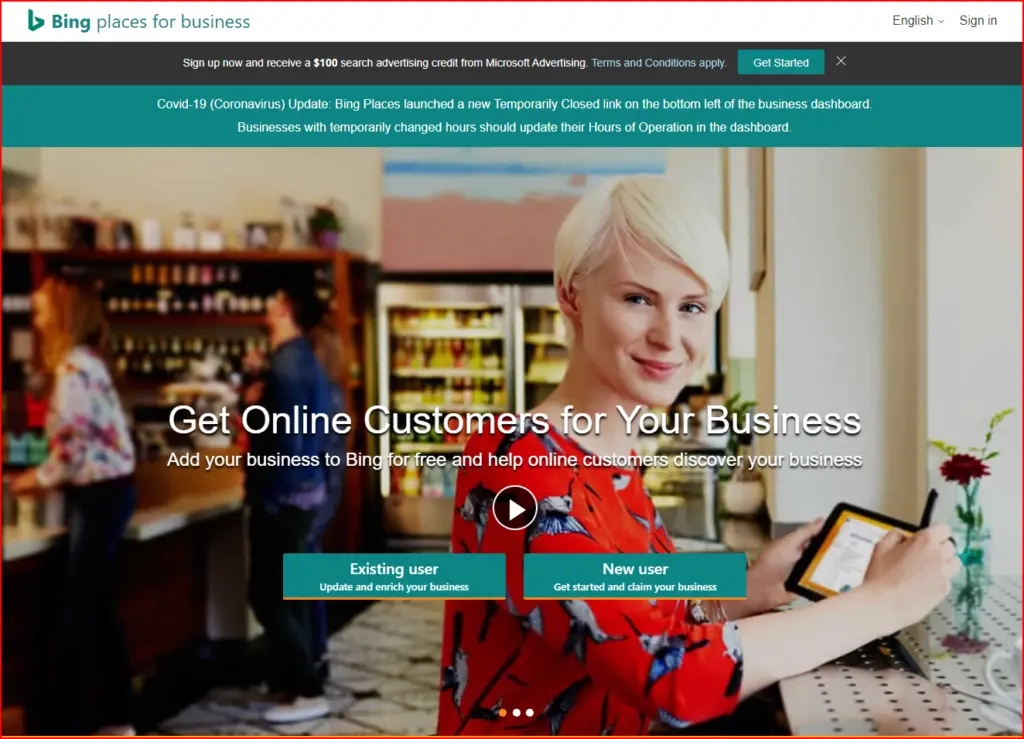
Step 3:
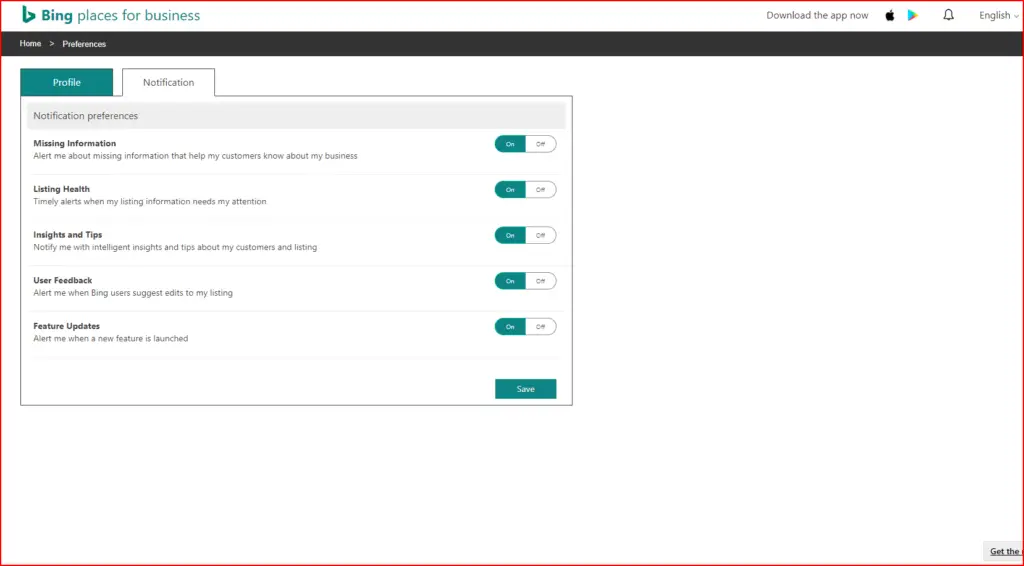
Now, you need to sign up for a new account with Bing Places For Business if you want to enter in your business’s information manually. You will be asked to enter in your name as well as the contact information for your business. Bing will also ask you about notifications they will send you about your business account, including details on new features they are adding.
Step 4:
You can choose whether or not to import a Google My Business Account from Google or to simply set up a new account from scratch. If you choose to import a Google My Business account that will allow business owners to instantly verify their accounts with Bing.
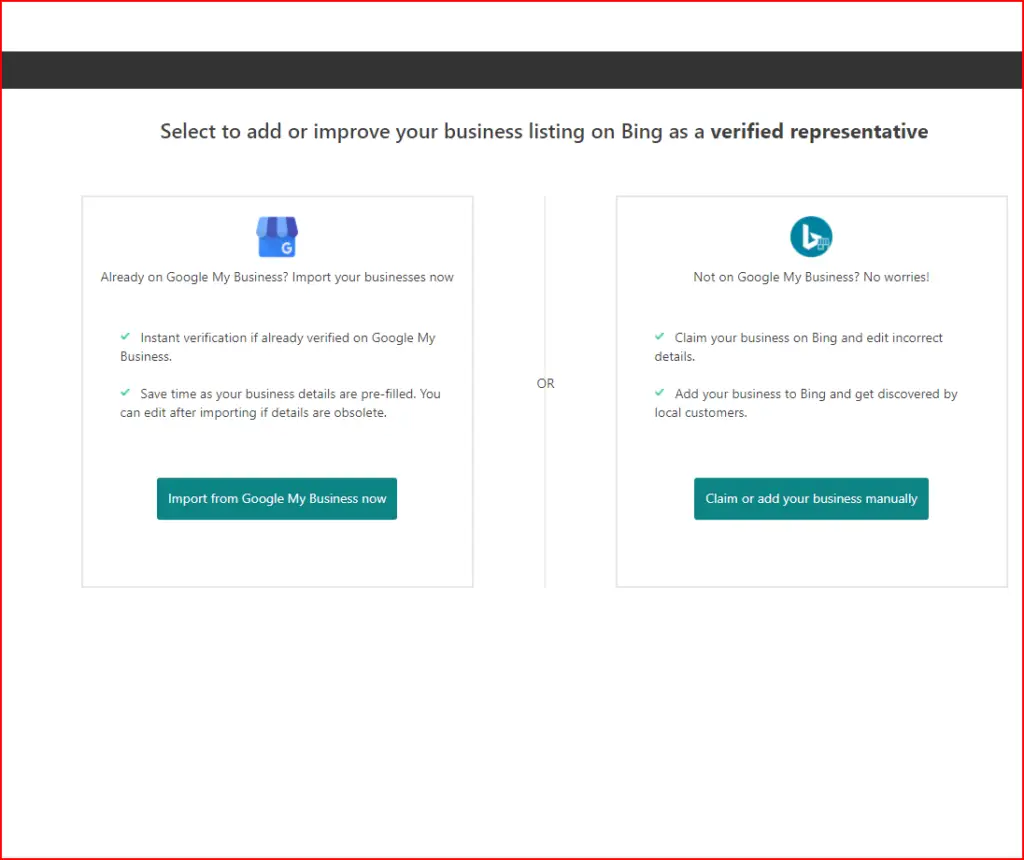
Step 5:
If you choose to manually create your business account, you will need to enter in the size of the business, the location, the contact information, and other important information. Bing will try to locate your business across the web. If it can’t find it, you can simply choose to “create a new business”.

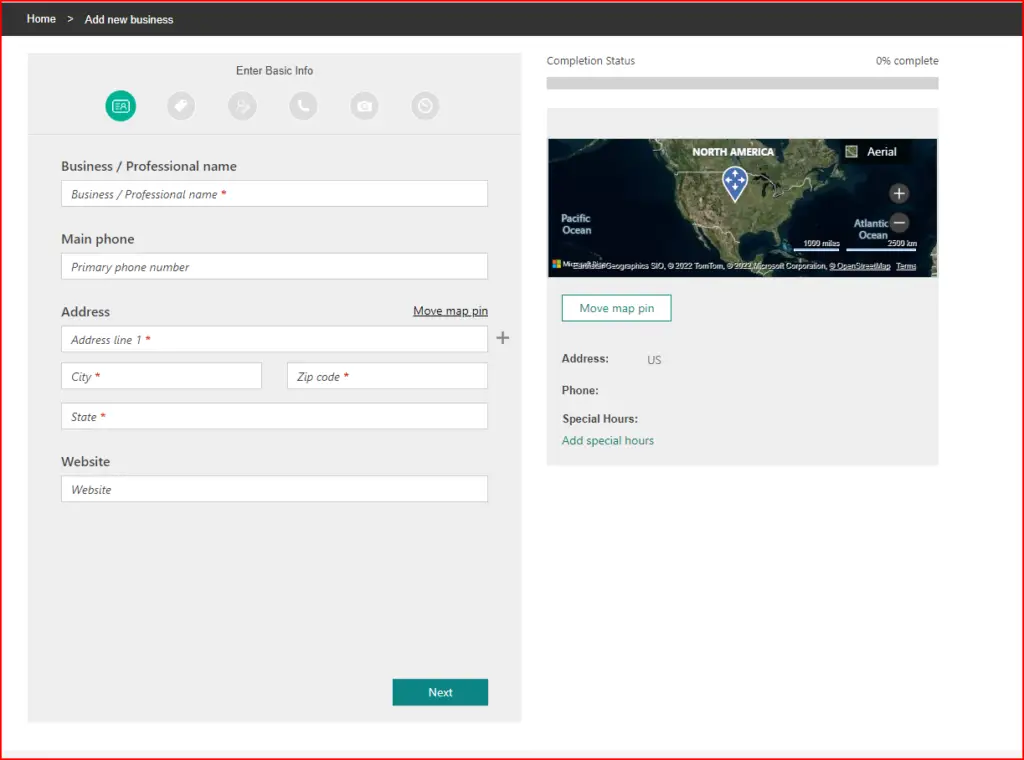
Step 6:
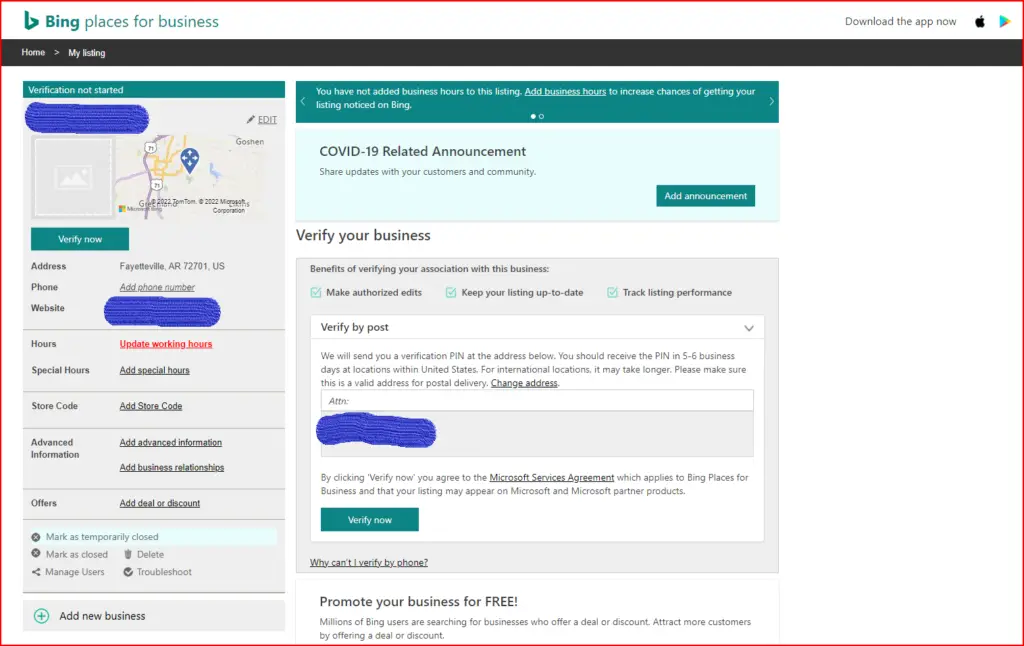
After setting up your Bing Places For Business account, you can get started on manually “creating a new business” the details of the business. Bing will ask you to enter the business name, the address, and phone number. Bing will ask about the business category and a description for your business.
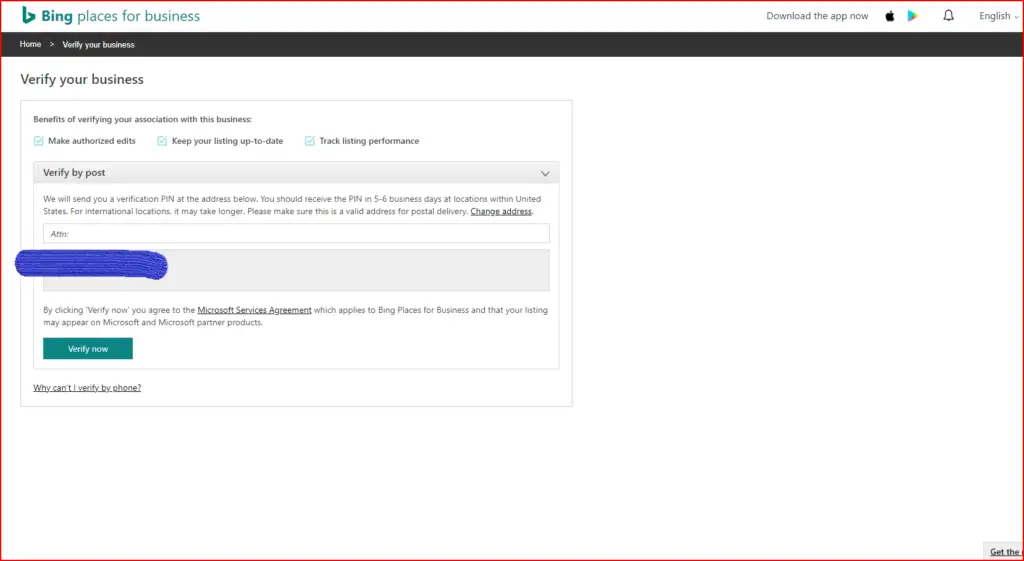
Step 7:
After entering all of your business and contact info, Bing will send you a verification code. Similarly to when setting up a Google My Business account, Bing will send you a postcard to the address listed on your business account with the verification code.
Step 8:
After verifying your business, you can edit your Bing Places For Business account as you please. You can start adding posts to your page to help advertise your business. You can also sync it with your Google My Business account at any time if you wish to do so. If you want to keep track of people searching for your business, then similar to Google My Business, Bing offers an app on IOS and Google Play Store that you can download to track and edit your account.