![How To Monetize Your Site/Blog With Google Adsense! [An Easy Step-By-Step Tutorial] - 1](https://moneymakersandsavers.com/wp-content/uploads/2021/08/google-adsense-image.jpg)
How To Monetize Your Site/Blog With Google Adsense! [An Easy Step-By-Step Tutorial]
Table of Contents
What is Google Adsense?
Google Adsense is the most popular ad network in the entire world. Everyone knows about Google and how they make money by selling ads. Companies pay Google directly to show their ads online to get more traffic and hopefully customers to their own site or store so that they can make more money by selling goods or services. YouTube is one of the most well-known platforms that people make money through Google Adsense by posting videos and having people view them as well as the video ads placed throughout the videos. People who own their own website can also make money by joining Google Adsense and allowing Google to place ads on their site.
How to sign up for Google Adsense!
Signing up for Google Adsense is actually not that hard, but it can be a slightly complicated and long process to set up.
[slm_content_lock]
Step 1: All you have to do is go to the Adsense website. Then just click on one of the “Get Started” buttons on the page. You need to link it to one of your existing Google Gmail accounts.

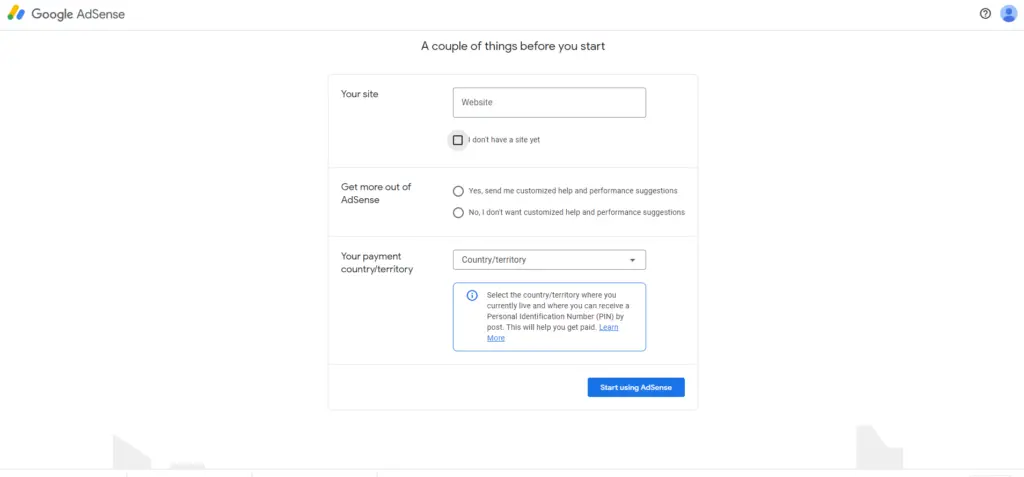
Step 2: Enter in your website name, your location, and etc.
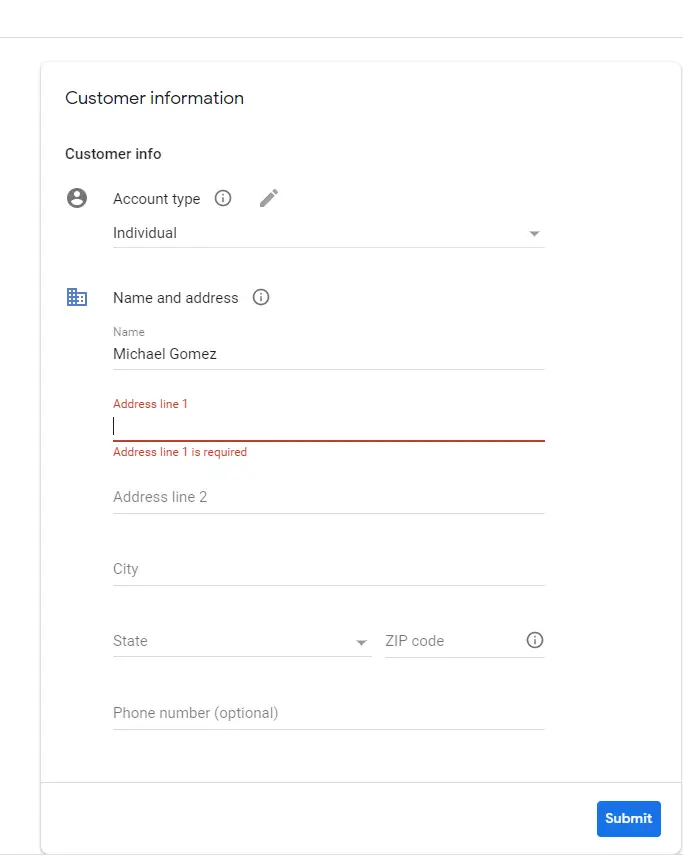
Step 3: Enter in some more personal information.
You will need to enter whether the account is an individual or a business one. You will also need to enter your name address and phone number.
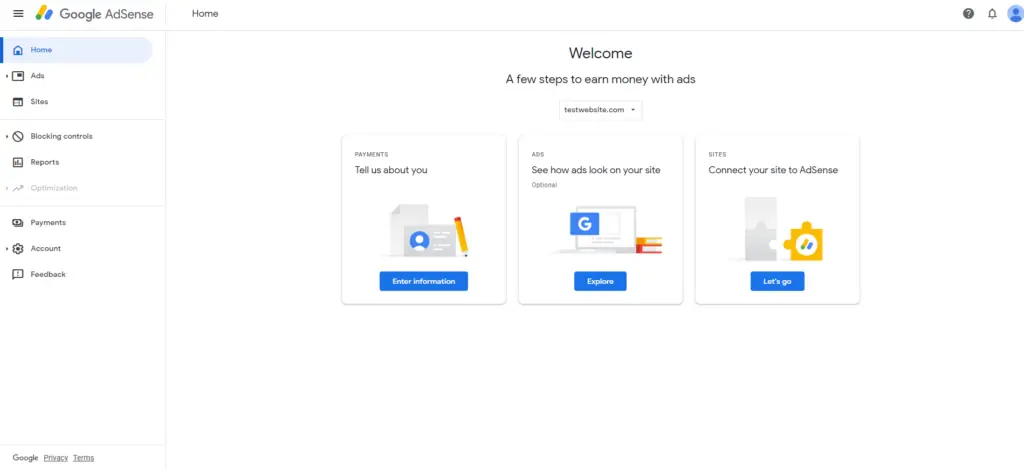
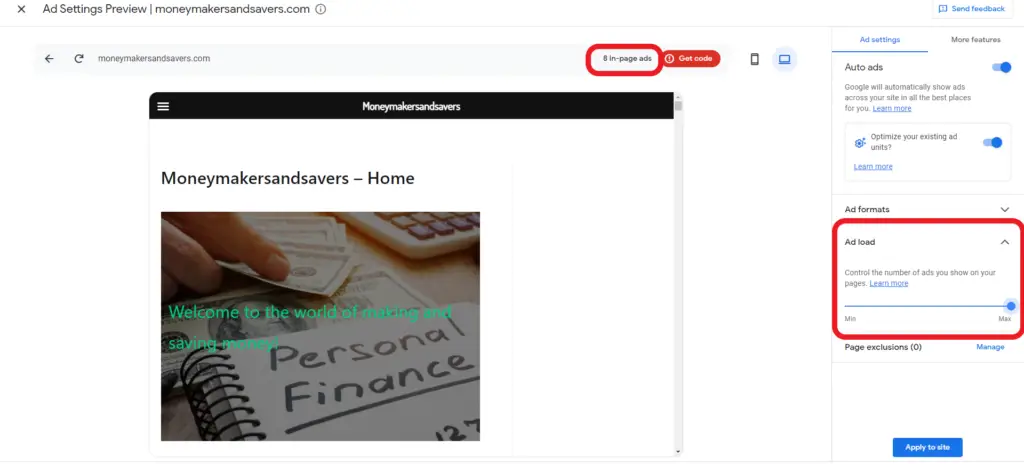
Step 4: Use Google Adsense to preview how your site will look with ads placed on it. Most users normally use the “auto-ads” feature to allow Adsense to place ads on their site automatically without any input needed on the user’s part.

You can change the type of ads that appear on your site in the “Ad formats” section.
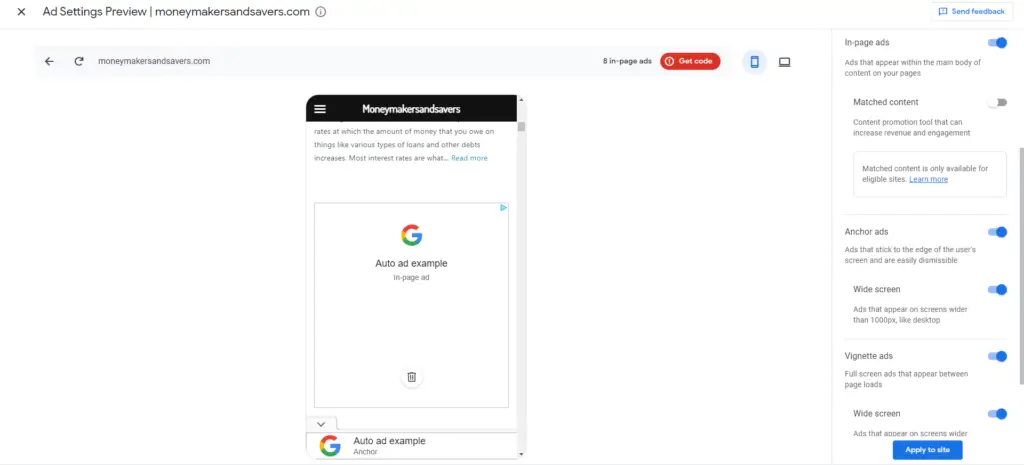
You can toggle “in page ads” which allows ads to show up inside the page. If this option is toggled of only “floating ads will appear.
You can toggle the “matched content” option. Matched content is a free recommendation service that offers you a simple way to promote your content to your site visitors. Matched content recommendations are based on topic similarity and are personalized for the reader. By offering your readers more content that’s relevant to them, you can increase your site’s page views, the time spent on your site, reader loyalty, ad impressions, and ultimately ad revenue.
You can toggle the “anchor ads” option. This option allows floating ads, which are the ones that follow the screen as you scroll up and down, to show. You can toggle the “wide screen” option. This option allows for floating ads to show up on the desktop version of your site.
You can toggle the “vignette ads” option. This option allows for ads to be shown to your site’s visitors in between each page load. Similar to the “anchor ads” option, you can also toggle a “wide screen” option that will allow vignette ads to display on the desktop version of your site or not.

You can also change how many ads appear on each page in the “Ad load” section. You can change the amount using the slider in the “Ad load” section. Then, you can check and see how many ads show up on each individual page in the top right corner.
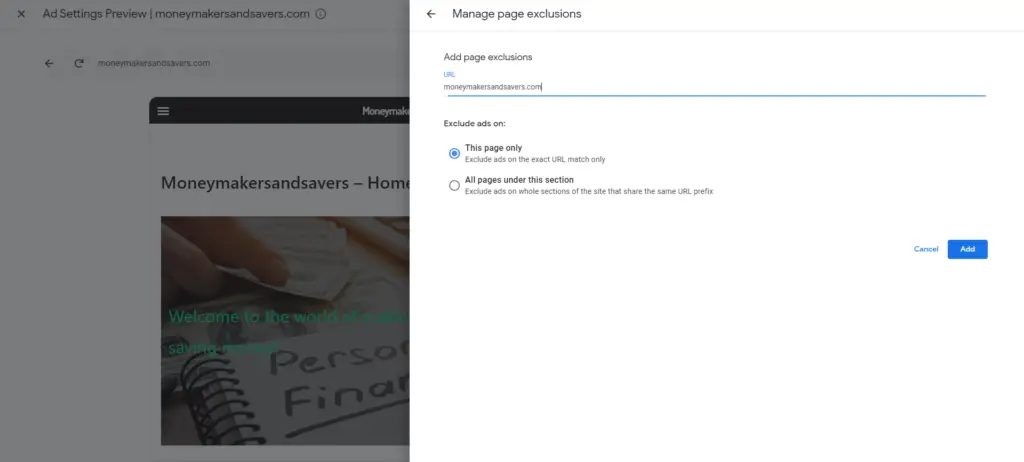
If you don’t want ads to appear on specific pages of your site, you can do this in the “Page exclusions” section. Simply enter in the URL for any and all pages that you don’t want to show ads and click the “Add” button in the bottom right when done.
When you are done adjusting the ad setting on your site to whatever you want, then click the “Apply to site” button at the bottom of the settings. Then, if your site has already been approved by Google Adsense, the ads should start showing up on your site with whatever settings you chose in your Adsense account.

Step 5: After setting up your Google Adsense account, then install and activate the WordPress plugin “Google Site Kit” from the plugins library. This plugin will automatically download the Adsense code into your website so that ads can show up on it without having to do any coding.
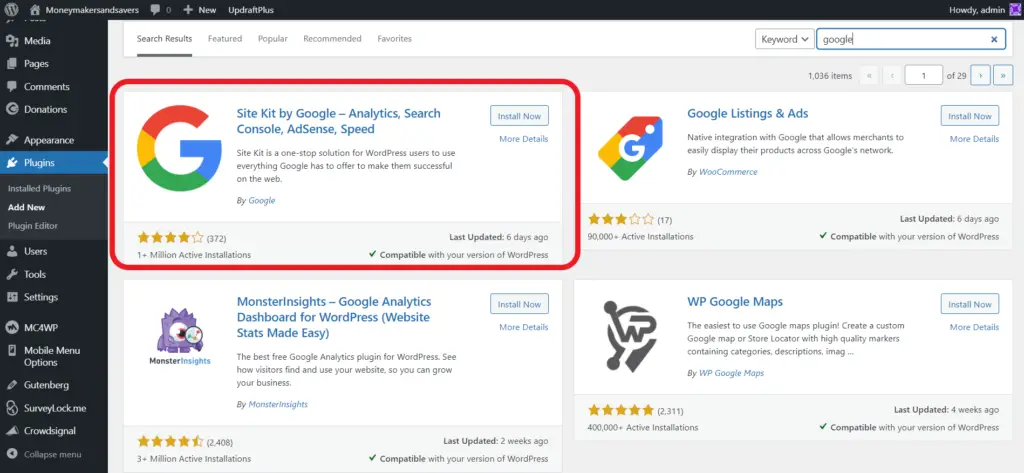
Go to the “Plugins” section of the Admin dashboard of your WordPress site and click the “Add New” button.
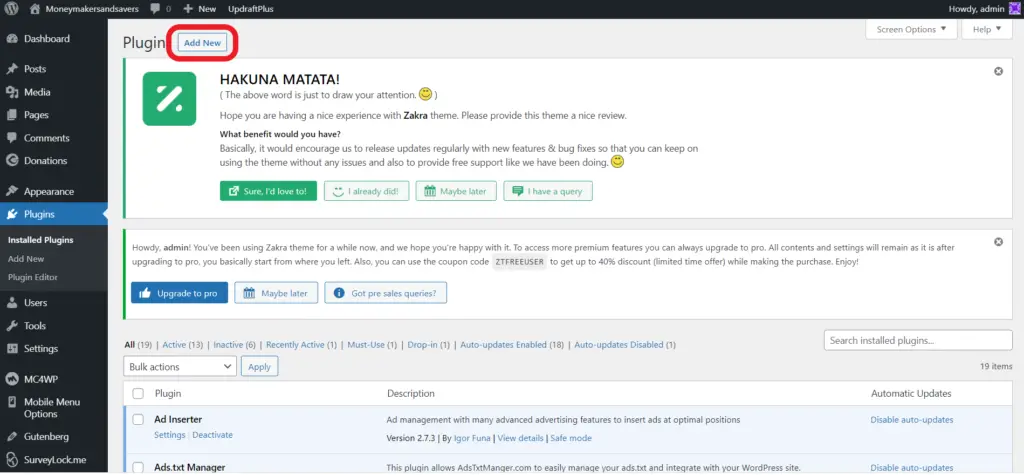
Search for the Google Site Kit plugin and install and activate it.
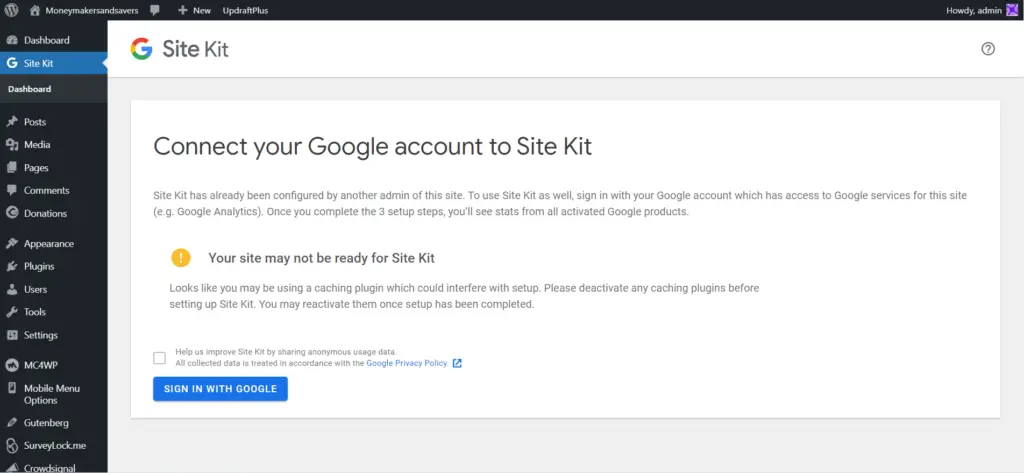
Go to the Google Site Kit plugin in the admin dashboard. Then sign in to your Adsense account using the same email account that you use to set it up. (NOTE: YOU MIGHT HAVE TO DEACTIVATE ANY CACHING PLUGINS BEFORE YOU CONNECT TO GOOGLE ADSENSE. YOU CAN REACTIVATE THEM AS SOON AS YOUR SITE IS CONNECTED.)
Step 6: Go to your Google Adsense account and under the “sites” section click the “review site button to allow Adsense to review your site for approval. This process can take up to 2 weeks and if your site is approved it should then be marked “ready”.
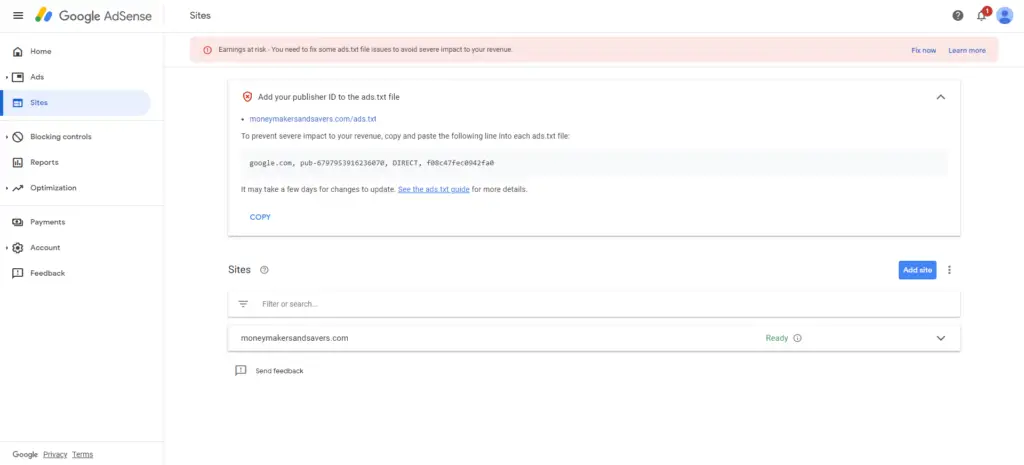
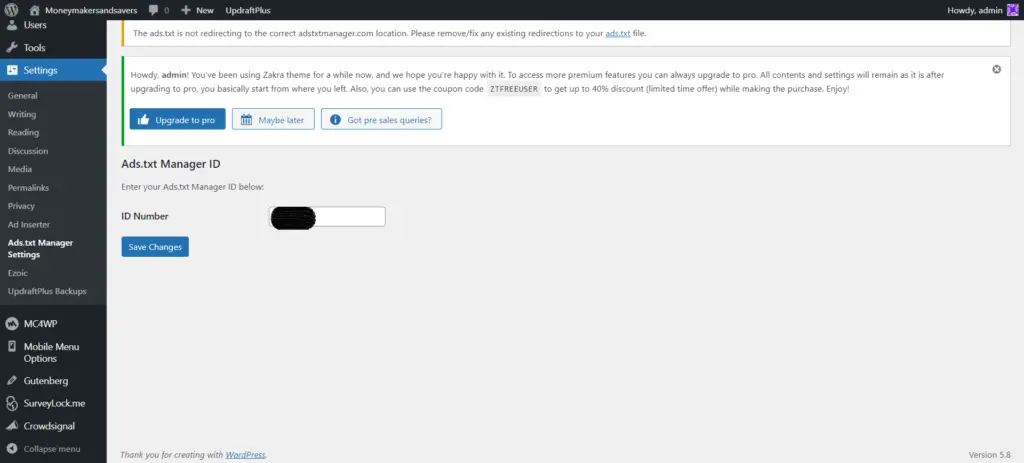
You may or may not get a warning about setting up your Ads.txt manager files. In order to do so click on the link with your site name and the Ads.txt file on the top, then copy all of the code that appears on the Ads.txt page that pops up. Go to the Ads.txt Manager site and create an account with them if you don’t already have one.
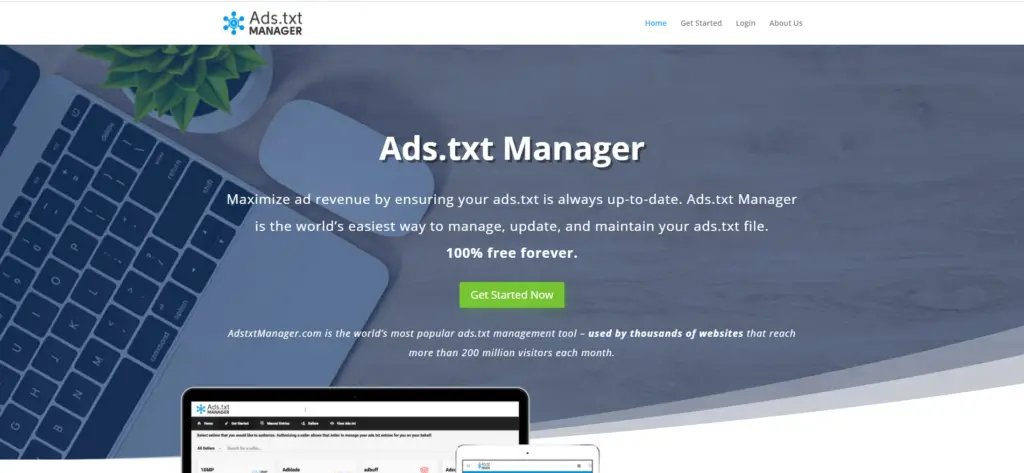
Enter in your personal and website information to connect your website and Ads.txt Manager account. You need to have the Ads.txt Manager plugin installed and activated on your website since you will be given your own unique “Seller ID” that the different ad networks out there can use to identify your site. When you are given this ID you need to copy and paste it inside the Ads.txt plugin settings and then press the “save changes” button.
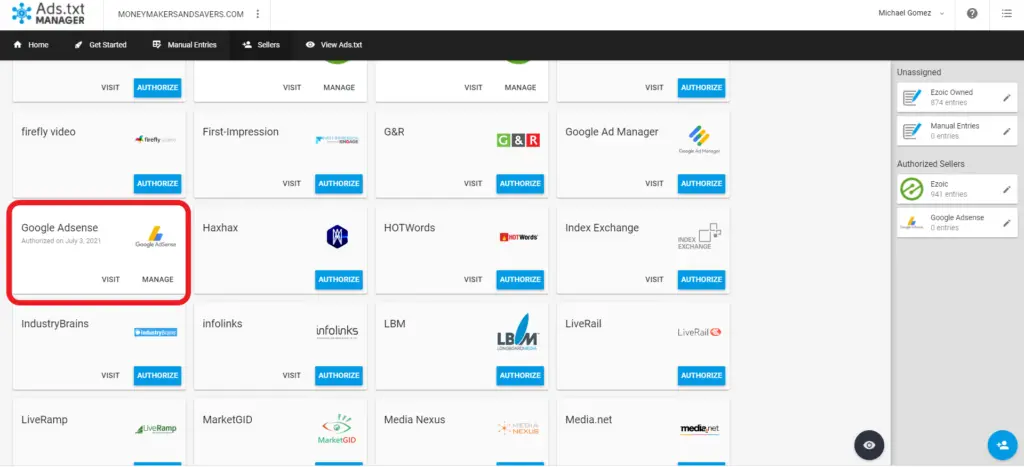
After you finish setting up your Ads.txt Manager account, go to the “Sellers” tab. If you haven’t already activated Google Adsense as one of your sellers. If you have already done that then click on the “manage button.
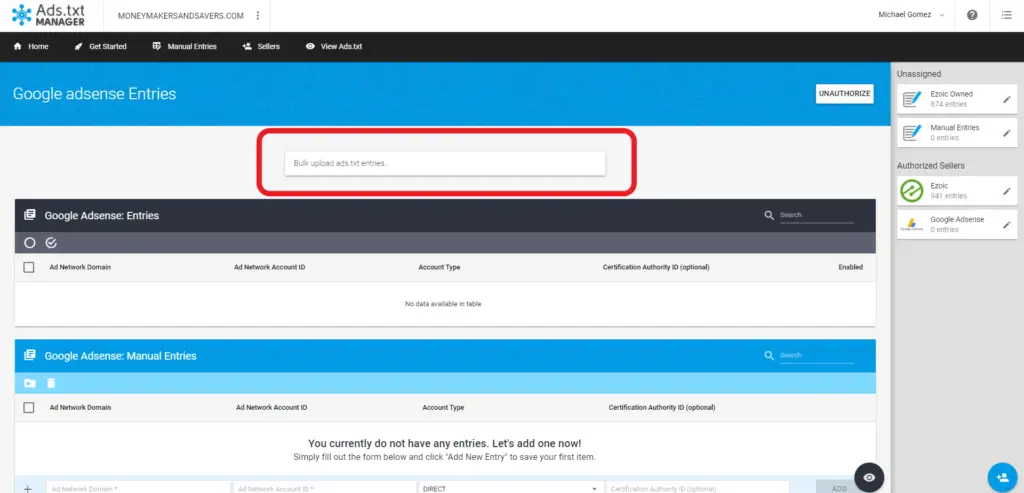
Go back to Google Adsense account and in the “Sites” section you will see some files that you will need to copy and paste into the Ads.txt Google Adsense.

Copy and paste the Adsense files in the Adsense section of Ads. txt into the “upload ads.txt entries bar at the top. If you did this correctly you should see a small pop-up that says save and in the Google Adsense box under “Authorized Sellers” you should see 1 entry.
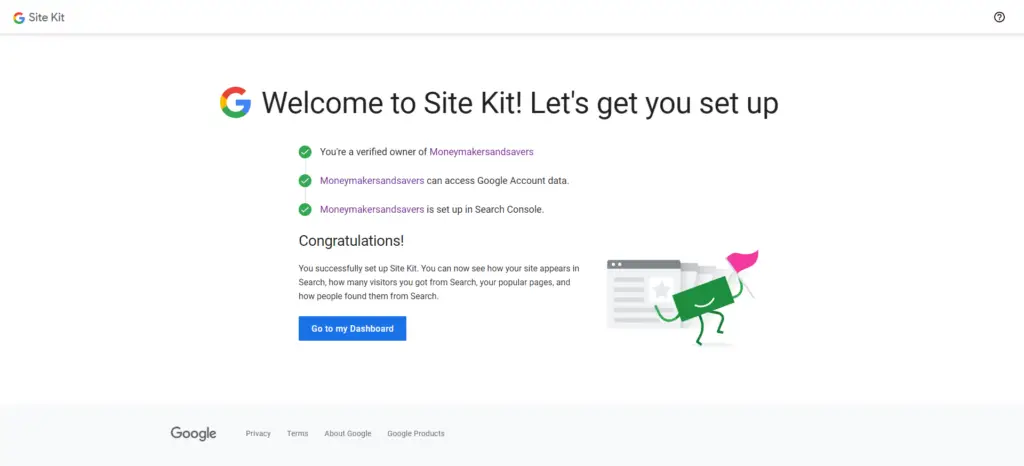
Step 7: You need to verify your ownership of the site that you want to connect, allow your site to access your Google account data, and set up Google Search Console.
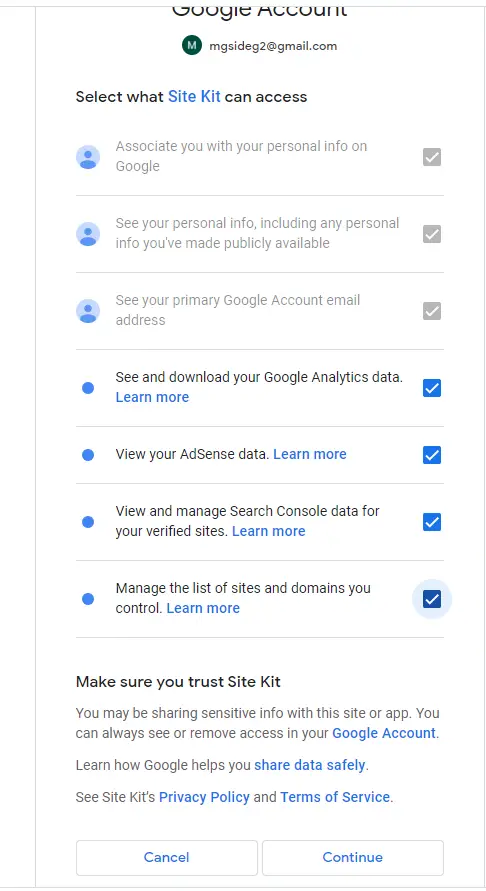
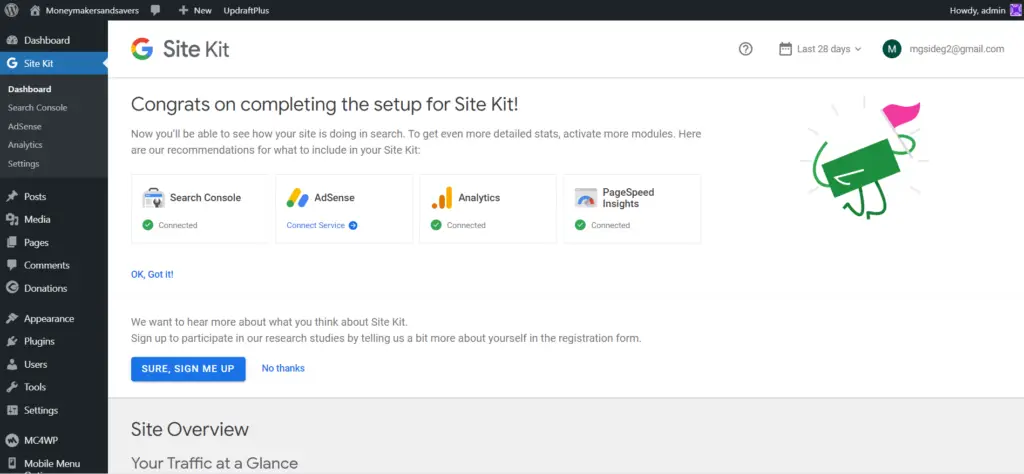
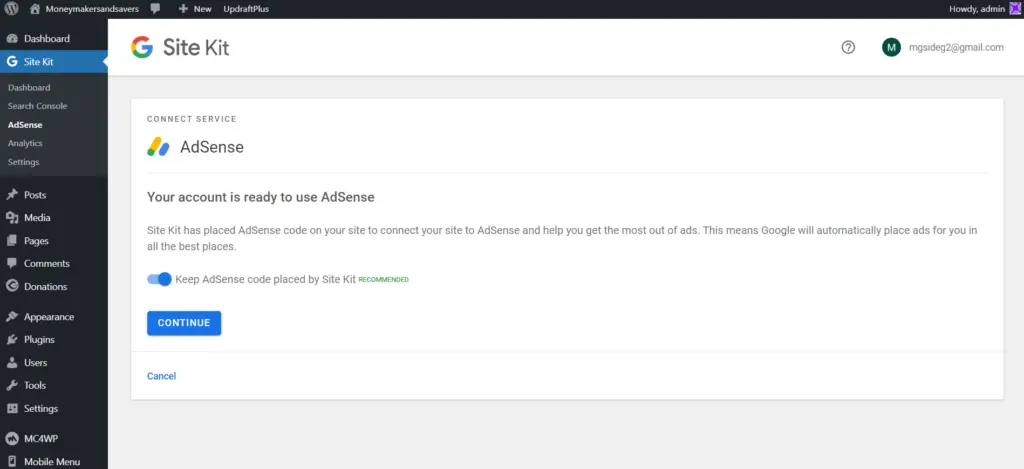
Once you are done with setting up connecting the Google Site Kit plugin to your Adsense account you can go right back to your dashboard to view all of the metrics like page views, search queries, traffic sources, and etc. Inside the dashboard, click the “connect service” button inside the Adsense box.
Then click the continue button after Adsense is connected to your site. Make sure that the “enable auto-ads” option is toggled on in your Adsense account.
[/slm_content_lock]
After completing all of these steps you should have your site completely set up to show ads with Google Adsense. It might take them a few days before they actually show up on your site, but the setup is now complete! All you need to do now is go to the Google Site Kit plugin and connect your Adsense account to your website!
Not satisfied with the earnings from or constantly getting rejected by Google Adsense? Then I would recommend sigining up for Ezoic! It is another company that allows you to monietize your site with ads. Ezoic allows you to earn more than with just Google Adsense, it’s “mediation” feature allows you to still work with Adsense and increase your earnings since Adsense and Ezoic will bid against each other for ad space, and it even offers other benefits like free hosting if you want!
If you want to earn more money than you can with Google Adsense, click on the link here! https://ezoic.com/?tap_a=6182-5778c2&tap_s=1834645-3e120b